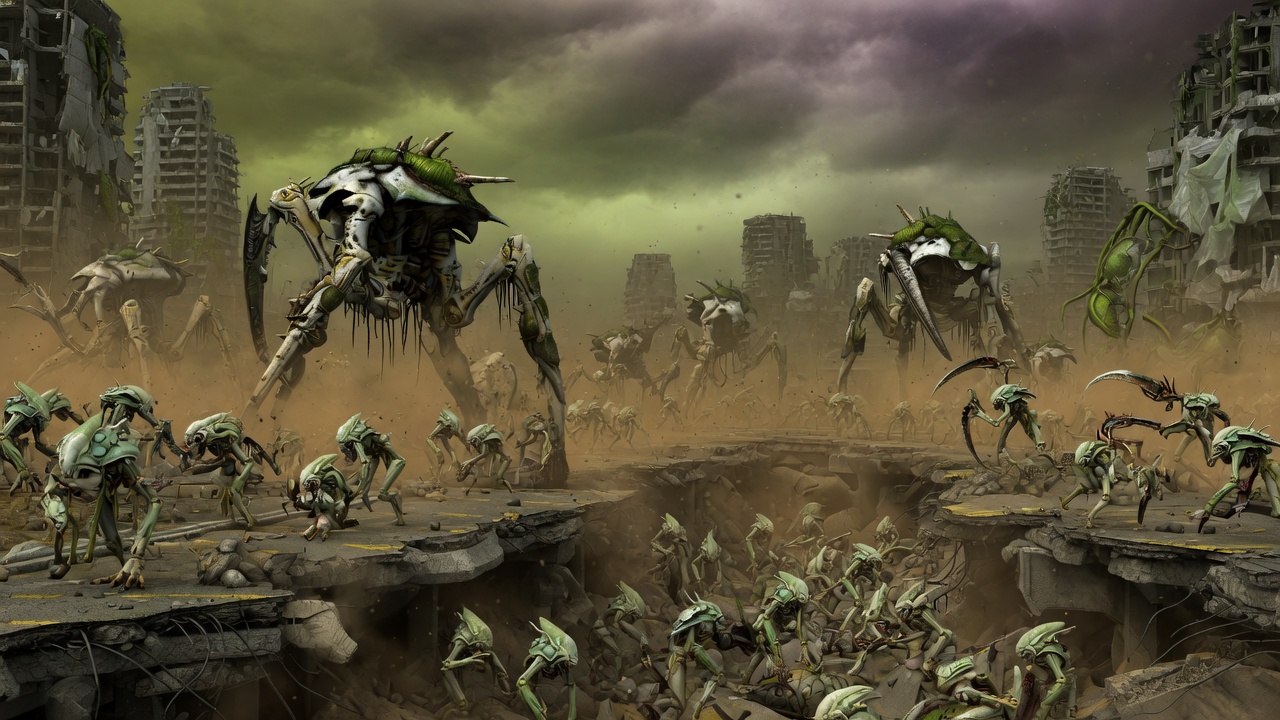
Swarm order of battle

Brood Swarm

Nothing here waits. Read the claws, the spit, and the siege beast, then decide how close you are willing to let them get.

All forces

Close the distance. Unmake the line.

The Brood Swarm is weather with teeth. It does not garrison. It arrives. A tyrant is the hinge — claw for the close work, a bio-cannon that bursts around whatever it hates. Broodlings sprint the last meters and tear. Spatlings spit burning rounds at rifle distance so the tide can close. There is no rear rank. There is only the next thing that still moves.

Roster
3 types
Full kit
95 pts if you take one of each

How they fight

The tyrant breaks the hinge. Broodlings own the last tile. Spatlings keep the line honest while the swarm closes. Melee is not a fallback. It is the plan.

Units

Plates for every pattern still in the archive. Idle field models play where a 3D scan exists; the rest keep their painted likeness.

Apex

Tyrant

75

points

A two-legged siege beast. Devastating claw, and a short bio-cannon that bursts around the target. Extremely tough.

HP
28
Move
4
Range
4
Fire
6
Arc
180°
Melee
9
Overwatch
2
Speed
0.273
  • Burst 1.55 around the impact

Field model · idle loop

Swarm

Broodling

8

points

Fast, fragile, and armed only with scythe limbs. They close distance and tear. Fleet: they ignore difficult terrain.

HP
5
Move
7
Range
—
Fire
—
Arc
360°
Melee
5
Overwatch
—
Speed
1.45
  • Fleet — normal speed through difficult terrain
  • Melee only
  • 360° firing arc

Field model · idle loop

Spitter

Spatling

12

points

A medium-paced shooter. Spits a burning bio-round at rifle distance.

HP
7
Move
5
Range
6
Fire
3
Arc
180°
Melee
2
Overwatch
1
Speed
1

Field model · idle loop